
Many thanks Bob....and I didn't know that, so I will go off to the garage to check. But there do seem to be various differences as I saw a plunger bike today with no grease nipples on the head of the long through bolt. If you look at my photos, you'll notice that each long through bolt does have a grease nipple on the top....and that the bolts also have a cross drilling (not visible in photo) for the grease to exit into the centre of the tube. And these tubes also have a cross drilling (visible) to allow the grease to exit tube and finally lubricate the bushes for the stirrup.Bob.Murphy wrote:The grease nipple on the horizontal casting also feeds grease to the vertical king pin slider - so ensure that the connecting hole is clear. There should be a rivet on the rear face of the kinpin slider that, when removed, allows the connecting hole to be drilled.paul.wirdnam wrote:Some photos of my Anstey rear end.
You probably know all about that.
Bob.
My 4G Restoration Blog
-
paul.wirdnam

- Holder of a Silver Anorak

- Posts: 641
- Joined: Fri Apr 08, 2011 7:50 am
- Location: Okeford Fitzpaine, Dorset, UK
- Contact:
Re: My 4G Restoration Blog

Paul
-
Bob.Murphy

- Holder of a Golden Anorak

- Posts: 1137
- Joined: Thu Nov 29, 2012 10:32 pm
- Location: Kirkliston, on the West side of Edinburgh.
- Contact:
Re: My 4G Restoration Blog
'Cheval' arrived today and having read Will Fletcher's article I should say - that is what I found on my 'basket case' 1953 Mk I Square (which had a Wedgewood blue and white livery hiding under the black paint).
There are probably many variations.
Bob.
There are probably many variations.
Bob.
My avatar shows the late Len Rich in 1970 with the bike I now have - a 1958 Ariel VH
-
david.anderson
- Holder of a Golden Anorak
- Posts: 1532
- Joined: Mon Mar 28, 2011 4:52 am
- Location: south coast NSW Australia
- Contact:
Re: My 4G Restoration Blog
"The grease nipple on the horizontal casting also feeds grease to the vertical king pin slider - so ensure that the connecting hole is clear. There should be a rivet on the rear face of the kinpin slider that, when removed, allows the connecting hole to be drilled".
Actually that is not correct for the earlier, pre 52 anstey plunger which has the guide tube, ie Pauls model. The vertical slider bushes are greased by the grease nipple on top of the plunger unit. The sliding member for these models does not have any drilling and cannot be used on later models unless the drilling is put in and the front of the sliding member plugged. The original post 52 sliding member is plugged with a pressed in plug. Below is a photo of a 1950 plunger frame that I have converted to post 52 Anstey. I have drilled the grease hole through the slider into the guide tube and have then tapped the outer part of the hole and fitted a 4mm screw. See the screw/plug located directly under the grease nipple hole.
It is possible to convert the earlier plunger to the later set up. However there are some minor problems apart from the greasing. The post 52 frame has a recess machined in to the bottom to accept the later top hat. The later guide bar is therefore a little too long and must be shortened a little by turning/shortening a little off the major diameter of the main shaft. Alternately the recess can be machined into the frame.
It is also possible to make the plunger covers from stainless exhaust pipe (as done below), although it does involve resizing both the inner and outer covers a little then polishing.
Paul that looks like a very nice project and will give hours of enjoyment when complete.
David
-
Bob.Murphy
- Holder of a Golden Anorak
- Posts: 1137
- Joined: Thu Nov 29, 2012 10:32 pm
- Location: Kirkliston, on the West side of Edinburgh.
- Contact:
Re: My 4G Restoration Blog
Thanks David. I had a feeling that my post was going to be over-simplistic (i.e. Wrong!).
That clears it up.
Bob.
That clears it up.
Bob.
My avatar shows the late Len Rich in 1970 with the bike I now have - a 1958 Ariel VH
-
paul.wirdnam
- Holder of a Silver Anorak
- Posts: 641
- Joined: Fri Apr 08, 2011 7:50 am
- Location: Okeford Fitzpaine, Dorset, UK
- Contact:
Re: My 4G Restoration Blog
It's been six months since I last worked on this '39 4G....as back in January I had the opportunity to buy a 1930 Model F and I've been enjoying riding that in Banbury and other local veteran & vintage events in this very unusual fine weather. But I'm now back full time on the 4G.
Been checking out the Ansty linkages with their new bushes and spindles...and finding a safe way to get that bottom nut on the long through bolt without launching a coil spring into orbit...and without having to spend time making a spring compressor. Turns out only the bottom volute spring needs to be compressed to get that nut on...and I managed to do that with a ratchet tie-down:

And I picked up some paint today for the wheel rims and tank. As per Paul J's recommendations: Renault Rouge RE705. Not sure when I'll be in a position to use these, but just having the cans feels like progress

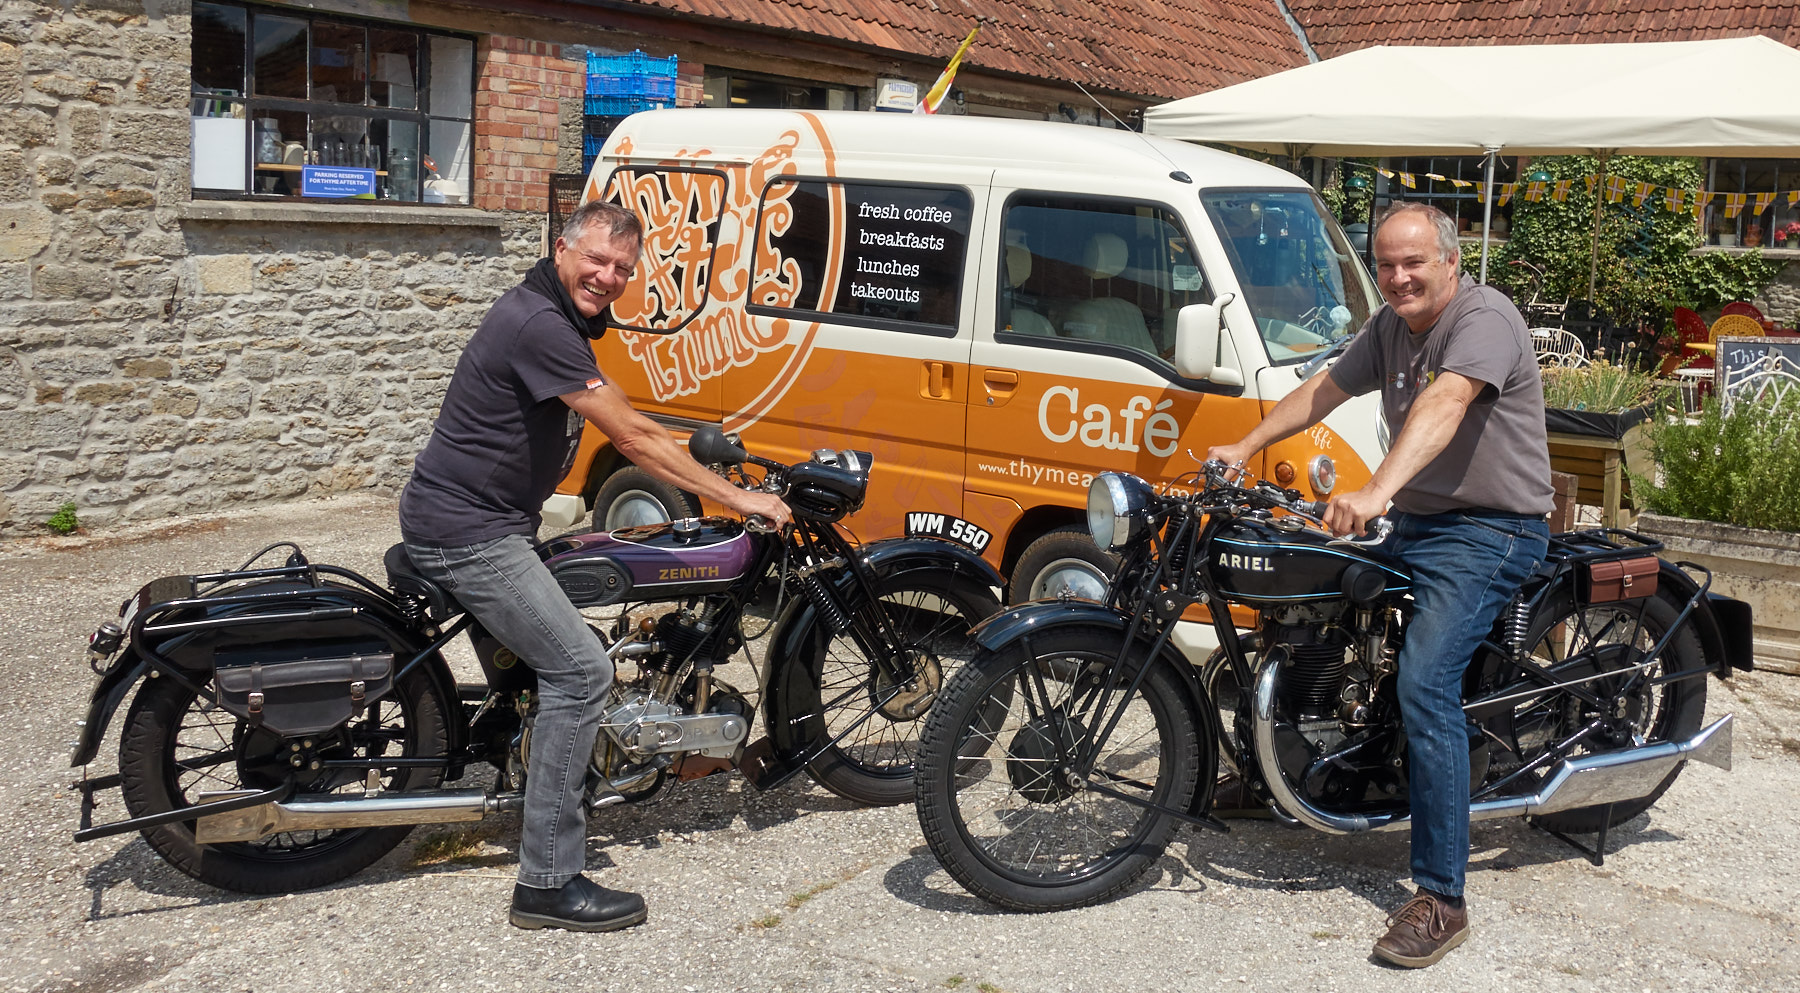
And a shot of me and the Model F with some rubbishy Zenith
Been checking out the Ansty linkages with their new bushes and spindles...and finding a safe way to get that bottom nut on the long through bolt without launching a coil spring into orbit...and without having to spend time making a spring compressor. Turns out only the bottom volute spring needs to be compressed to get that nut on...and I managed to do that with a ratchet tie-down:
And I picked up some paint today for the wheel rims and tank. As per Paul J's recommendations: Renault Rouge RE705. Not sure when I'll be in a position to use these, but just having the cans feels like progress
And a shot of me and the Model F with some rubbishy Zenith
Paul
-
paul.wirdnam
- Holder of a Silver Anorak
- Posts: 641
- Joined: Fri Apr 08, 2011 7:50 am
- Location: Okeford Fitzpaine, Dorset, UK
- Contact:
Re: My 4G Restoration Blog
More work on the mudguards and their stays over the last two days. Under 40 years of multiple layers of paint, they are not in a good shape; the front one being the worse. I have thought about replacing them but together with a MIG welding friend, we're getting there slowly...
As part of checking the straightness and alignment of the rear one, I found myself having to temporarily put the engine and gearbox back into the frame <sigh>. I wanted to ensure that the upper and lower chainguards fitted correctly without fouling the mudguard...and that the rear chain had a straight and clear run.
I already had a restored BA box from my very dormant '38 VB project, so I stuck that in the frame...big mistake. The rear chain sort of lined up but there was no way I could get the clutch on, or get it aligned with the drive sprocket. I puzzled over this for 24 hours, as I was working on the mistaken assumption that all mid 1930s and onwards Ariel BA boxes were the same. Poured over the Drags website and then I found it: "Casings The position of the mounting bosses of the SQ4 gearbox shell is different to the other models in order to move the gearbox sprocket further to the left.".
Nothing for it but to rebuilt the box that came out of the 4G and remove this one that came from the VB. And judging from the photos below, not only are the 4G casing bosses in slightly different positions, but the mainshaft is considerably longer on the 4G box.


And now the clutch sprocket fits correctly and all chains line up. Another lesson learnt...one that others probably already knew .
.

As part of checking the straightness and alignment of the rear one, I found myself having to temporarily put the engine and gearbox back into the frame <sigh>. I wanted to ensure that the upper and lower chainguards fitted correctly without fouling the mudguard...and that the rear chain had a straight and clear run.
I already had a restored BA box from my very dormant '38 VB project, so I stuck that in the frame...big mistake. The rear chain sort of lined up but there was no way I could get the clutch on, or get it aligned with the drive sprocket. I puzzled over this for 24 hours, as I was working on the mistaken assumption that all mid 1930s and onwards Ariel BA boxes were the same. Poured over the Drags website and then I found it: "Casings The position of the mounting bosses of the SQ4 gearbox shell is different to the other models in order to move the gearbox sprocket further to the left.".
Nothing for it but to rebuilt the box that came out of the 4G and remove this one that came from the VB. And judging from the photos below, not only are the 4G casing bosses in slightly different positions, but the mainshaft is considerably longer on the 4G box.
And now the clutch sprocket fits correctly and all chains line up. Another lesson learnt...one that others probably already knew
Paul
-
paul.jameson

- Holder of a Golden Anorak
- Posts: 2950
- Joined: Wed Oct 12, 2011 3:04 pm
- Location: Herefordshire
- Contact:
Re: My 4G Restoration Blog
That is why the code on the box says 1BAPDH for a single or 2BAPDH for a Square Four. The X in front of the 1BAPDH has another meaning, as explained in recent issues of Cheval de Fer.
Paul Jameson
35 LG (project), 37 RH500, 52 ex ISDT KHA, 54 KH(A), 75 Healey 1000/4.
Former Machine Registrar & Archivist, General Secretary and Single Spares Organiser (over a 25 year period).
Now Archivist (but not Machine Registrar), Gauges and Clocks Spares Organiser.
35 LG (project), 37 RH500, 52 ex ISDT KHA, 54 KH(A), 75 Healey 1000/4.
Former Machine Registrar & Archivist, General Secretary and Single Spares Organiser (over a 25 year period).
Now Archivist (but not Machine Registrar), Gauges and Clocks Spares Organiser.
-
paul.wirdnam
- Holder of a Silver Anorak
- Posts: 641
- Joined: Fri Apr 08, 2011 7:50 am
- Location: Okeford Fitzpaine, Dorset, UK
- Contact:
Re: My 4G Restoration Blog
I obviously need to read my Cheval de Fer copies more diligently. It is a shame that the main case doesn't have different markings as the end covers, with the stamped codes, often get swopped around. Off to find out what the X means...paul.jameson wrote:That is why the code on the box says 1BAPDH for a single or 2BAPDH for a Square Four. The X in front of the 1BAPDH has another meaning, as explained in recent issues of Cheval de Fer.
Paul
-
paul.wirdnam
- Holder of a Silver Anorak
- Posts: 641
- Joined: Fri Apr 08, 2011 7:50 am
- Location: Okeford Fitzpaine, Dorset, UK
- Contact:
Re: My 4G Restoration Blog
Very interesting article Paul...many thanks. (March & May 2018 issue BTW)
Paul
-
simon.holyfield

- Holder of a Platinum Anorak

- Posts: 4700
- Joined: Mon Oct 17, 2011 11:16 pm
- Location: Norfolk
- Contact:
Re: My 4G Restoration Blog
I worried about that same issue for months. My SQ4 kit of parts appeared to have been mixed up with a KH - the tank was KH (and still is) and the gearbox code fitted a KH. Being naive to Ariels at the time, I had to wait until I could get the frame, engine and rear wheel together (much like the stage you are at now) to find that the only KH bit was the gearbox end cover with the number on it.paul.wirdnam wrote:I obviously need to read my Cheval de Fer copies more diligently. It is a shame that the main case doesn't have different markings as the end covers, with the stamped codes, often get swopped around. Off to find out what the X means...paul.jameson wrote:That is why the code on the box says 1BAPDH for a single or 2BAPDH for a Square Four. The X in front of the 1BAPDH has another meaning, as explained in recent issues of Cheval de Fer.
Something of a relief - I didn't fancy hunting down a SQ4 gearbox case and mainshaft...
cheers
Simes
'51 Square Four,
'58 Huntmaster,
'42 W/NG,
'30 Model A
https://ariel-square-four.blogspot.com
Simes
'51 Square Four,
'58 Huntmaster,
'42 W/NG,
'30 Model A
https://ariel-square-four.blogspot.com
Who is online
Users browsing this forum: Google [Bot] and 18 guests